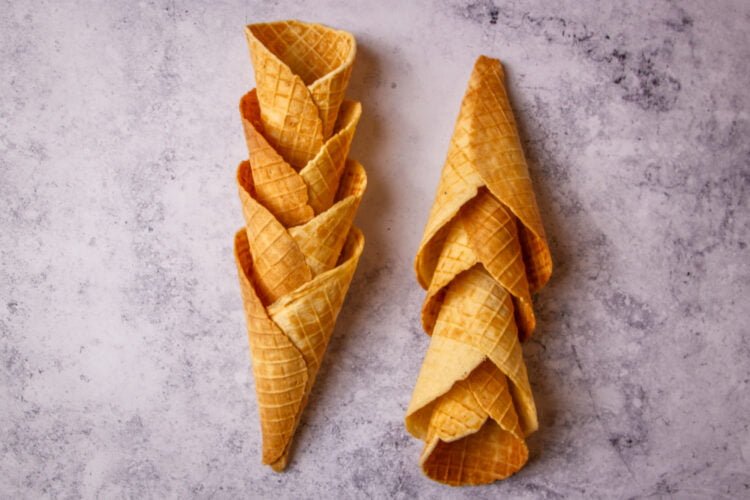
This recipe is adapted from the one which came with my cone maker by Chef’s Choice. The cones are super simple to make and in lieu of a specific cone maker they can be made in a pizzelle maker or griddle, then shaped into bowls.
Makes 8 cones
INGREDIENTS
- butter, unsalted: 25 g/2 Tbsp
- eggs: 1
- egg whites: 1
- salt: .25 tsp
- sugar: 100 g/.5 cup
- pure vanilla or almond extract: 1 tsp (choose depending on your ice cream)
- flour, all purpose: 95 g/ .66 cup/ 3.33 oz
- ground cinnamon: .25 tsp (optional)
STEPS
Prepare the mixture
- Melt and cool the butter. Melt the butter in a saucepan over medium heat or in the microwave. Set aside to cool.
- Whisk the eggs, salt, sugar, and extract in a mixing bowl until completely blended.
- Add the flour and cinnamon into the mixing bowl and incorporate with a spatula until just mixed.
- Add the butter into the mixture and mix with a spatula until incorporated.
Make the cones
- Prepare the area. Setup a towel next to the cone maker/griddle along with the cone shaper or bowl/cup of your choice as a mold. (these need to be ready to go to shape the warm, pliable cones before they harden). Have a wide non-metal spatula ready to remove the cones.
- Heat the cone maker. For my Chef’s Choice model, this is setting 3. Allow to heat completely (my maker gives a green light when ready–this is needed also between cones when the griddle cools slightly)
- Cook the cone. Drop 2 Tbsp (half of .25 cup) of the mixture onto the center of the griddle. If using a cone maker, push down the lid and press firmly for 5 seconds to help spread the batter. Release pressure and allow to cook for 60-120 seconds (start checking after 1 minute) until lightly browned.
- Shape the cone. With the spatula, remove to the cone from the maker to a towel if making cones, or to your bowl mold. Shape quickly (use the towel to protect your hands) and allow to cool and harden. Repeat this step for all cones. If using the cone mold, quickly press flat the tip of the cone when shaping to help seal the bottom of the cone and prevent the ice cream from dripping. After rolling the cone, press down on the mold and cone for 5-10 seconds (the seam/overlap will be on the bottom) to help seal the side of the cone.
- Repeat steps 2-4 for the rest of the cones.
- Store the cones in an airtight container. They are best eaten the same day but will last a few days.

